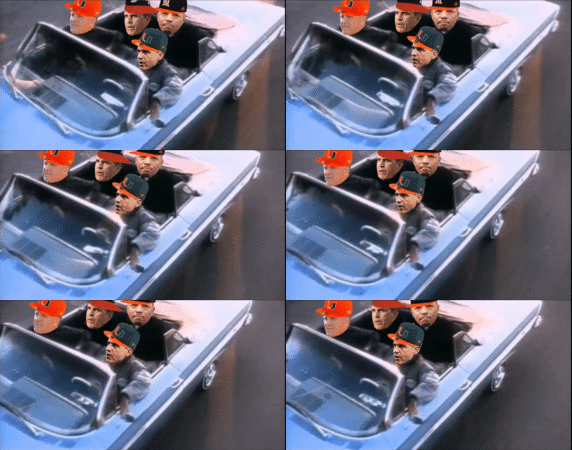
@RVACane
When you open the app select Create New and choose the aspect ratio that best matches that of the source media.
You will then need to select the source media (background layer). Below I circled the folder that the source gif was saved in, in this instance.
View attachment 184867
And here i select the gif i want to use (can also be an mp4).
View attachment 184868
So now you have your base layer media. You want to add a different face.
Select the Layer icon (circled).
View attachment 184869
Select "Media" (top icon).
View attachment 184870
Select the folder where your new face image is saved. In my Gallery that folder is named "Eraser" bc I use an app named Eraser to create the faces, so it's named "Eraser". On your busted *** Apple it will probably be named something stupid.
View attachment 184871
Here I selected Magic Mike and dragged his face over top the base layer face.
View attachment 184872
To make the new face move w/the base layer, you have to select it from the tool bar below and then select the unlock (key) icon from the menu on the left.
View attachment 184873
The face icon on the toolbar should now be outlined in red. Now you can move it left/right and move the face to new positions/angles for that specific point on the timeltimeliness.
View attachment 184874
You can add as many layers as you want, to include text...
View attachment 184875
Get some.

